I love creating free content full of tips for my readers, you. I don't accept paid sponsorships, my opinion is my own, but if you find my recommendations helpful and you end up buying something you like through one of my links, I could earn a commission at no extra cost to you. Learn more
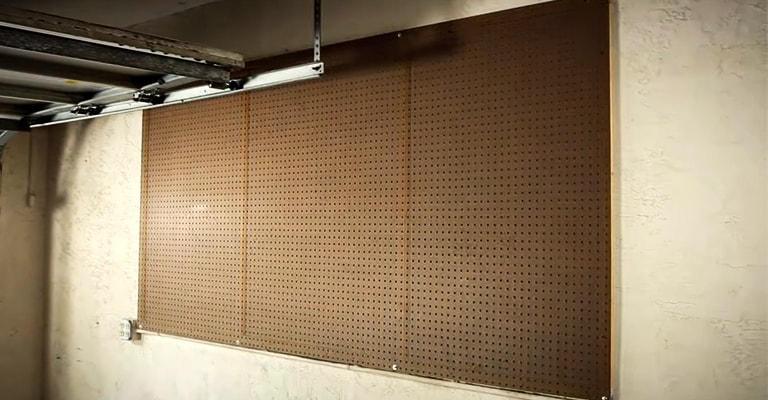
From professional workshops to homemade workshops in the basement or garage of a home, a robust pegboard is a useful and somewhat essential mounting. These boards, covered with holes, convert any wall into a storage location. You can hang anything that you want and organize them to suit your aesthetic desire.
However, if you are trying to hang the pegboard on a wall that does not have any wooden studs behind it, you are probably dealing with concrete. Installing the pegboard on your concrete wall is an unorthodox process but no need to worry. We will tell you what you have to do, step by step, so that you can do it yourself with ease.
In this post we'll cover:
Hanging a Pegboard on Concrete | The Steps
The basic principle of hanging this board on any kind of wall is the same, as long as you are doing it with screws. But since there are no studs to work with, in this case, it will be a bit different. Our steps below will walk you through the whole process and share all the tips and tricks to hang the pegboard and make the job easier for you.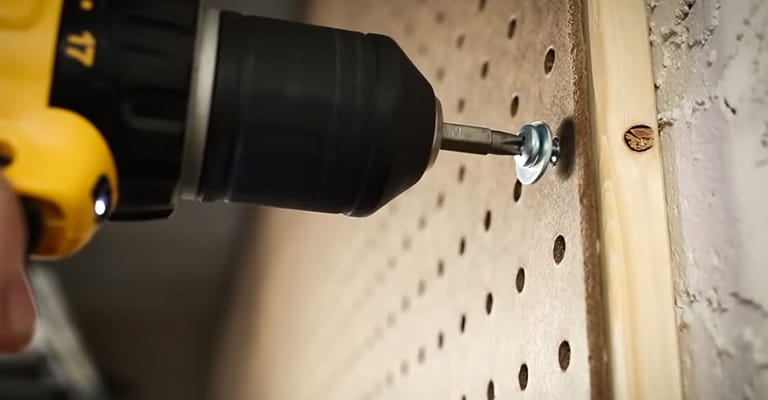
Location
Choose the place, i.e. the wall where you want to hang the pegboard. Consider the size of your pegboard while selecting the location. Plan and figure out whether the board will fit on the location or not. If you don’t plan it out, then you might be turned down by the fact that your pegboard is too long or too short for the wall. In addition to that, make sure that the wall you are selecting is plain enough and does not have any ups and downs. You need to install wooden furring strips on that wall so an uneven wall will make the job harder. Even if you manage to hang a pegboard on an uneven wall, you are bound to face problems in the future.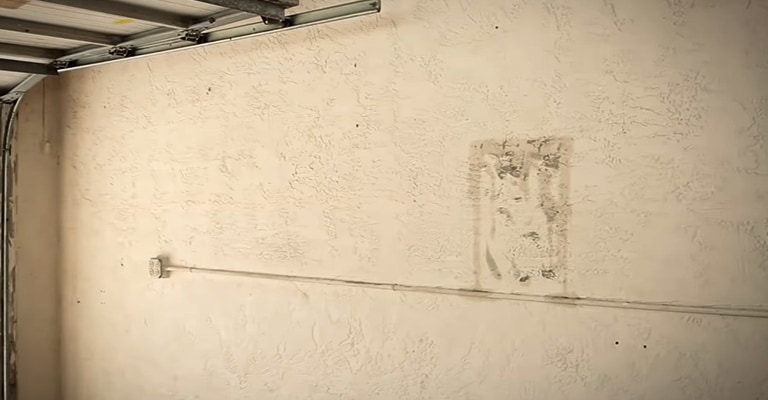
Collect Some Wooden Furring Strips
After you have made sure of an even and proper sized wall, you will need 1×1 inch or 1×2 inch wooden furring strips. The strips will provide the distance between the concrete wall and the pegboard (like these here) so that you can use those pegs. Cut the strips in your desired size.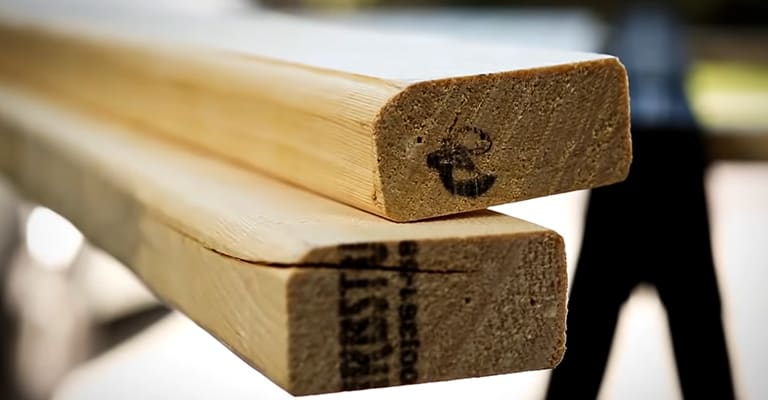
Mark the Hanging Spots
Use a pencil or a marker to mark the frame of the strips that you will need to establish before attaching the pegboard to it. Make a rectangle or square with 4 wooden furring strips on each side. Then, for every 16inch from the first stripe marking, use one strip horizontally. Mark their location. Make sure that the strips are paralleled.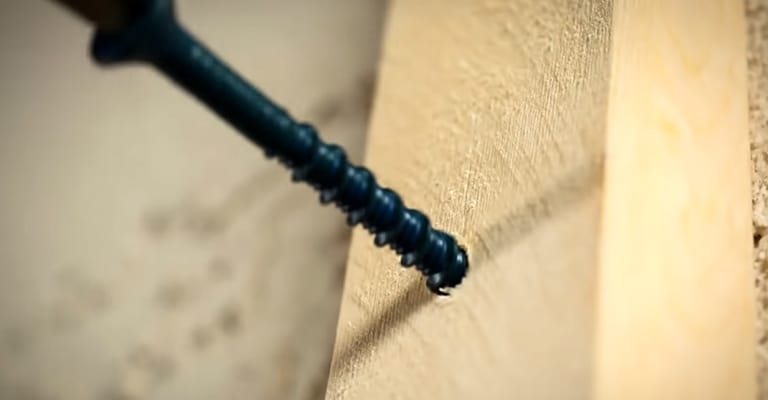
Drill Holes
First, you need to drill holes on the concrete wall. According to your markings, drill a minimum of 3 holes on each furring strip marking. Keep in mind that these holes will be aligned with the holes you make on the actual strips and you will screw it with the wall. Secondly, drill holes on the wooden furring strips before you attach them anywhere. Because of this, the strips will be saved from cracks. Make sure that your holes align with the holes made on the wall. You can place the strips over the markings on the wall and use a pencil to mark the spot for drilling on the strips.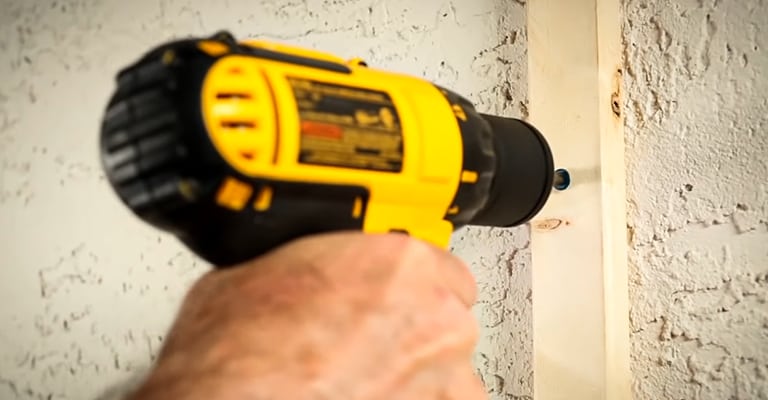
Install the Base Frame
With all the markings and holes completed, you are now ready to attach the wood strips onto the concrete wall and set up the base. Align the holes of the two and screw them together without any washers. Repeat this process over all the strips and holes you’ve mane until you are left with a solid wooden frame attached to the wall.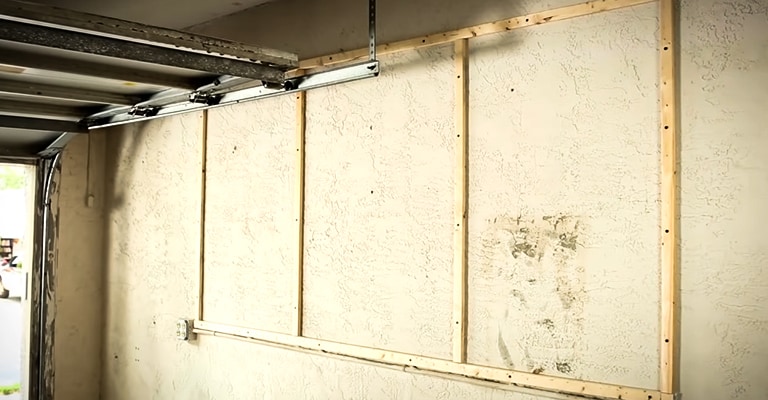
Hang the Pegboard
Place a single pegboard on one side covering the wooden frame completely on that side. To help you keep the pegboard on its place, lean something against the board. You can use metal rods or extra wooden strips or anything that will hold the board in its place while you screw it up with the wooden frame. Use screw washers while screwing the pegboard. This is important because the washers help distribute the force of the screw over a larger surface area on the pegboard. As a result, the pegboard can take in a lot of weight without collapsing. Make sure you add an adequate amount of screws and you are all done.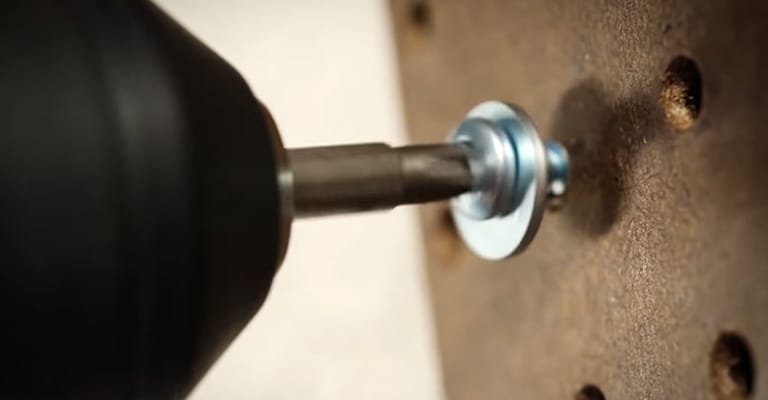
Conclusion
Hanging a pegboard on concrete might sound difficult but it’s not, as we’ve explained in our guide. The process has some similarities with installing a pegboard on studs. However, the difference is that instead of studs, we drill holes on the concrete itself. There is, frankly, no better alternative than to use the electric drill to make holes on the concrete wall. You can try hanging the pegboard without screws but that won’t be as strong as this one, apart from the significant decrease in weight carrying capability of the pegboard.I'm Joost Nusselder, the founder of Tools Doctor, content marketer, and dad. I love trying out new equipment, and together with my team I've been creating in-depth blog articles since 2016 to help loyal readers with tools & crafting tips.
