I love creating free content full of tips for my readers, you. I don't accept paid sponsorships, my opinion is my own, but if you find my recommendations helpful and you end up buying something you like through one of my links, I could earn a commission at no extra cost to you. Learn more
Despite the traditional use of pegboards in garages or workshops, its use in other rooms and for decorative purposes is increasing in recent times. That’s because companies like IKEA are making small and aesthetic pegboards that can be hung even without drills and screws.
However, the pegboards which you can hang without screws do not have as much weight carrying capacity as the ones which you can hang with screws. Because drilling holes and screwing them is more rigid and firm. In this guide, we will walk you through the process and tips of hanging a pegboard without any screws.
In this post we'll cover:
How to Hang Pegboard without Screws – Steps
To be fair, there are some screws involved in the process. However, those are not the traditional screws that go into wooden strips or studs. We will demonstrate the process of hanging an IKEA pegboard. We will be using adhesive strips to attach the pegboard with the wall.Identifying the Parts
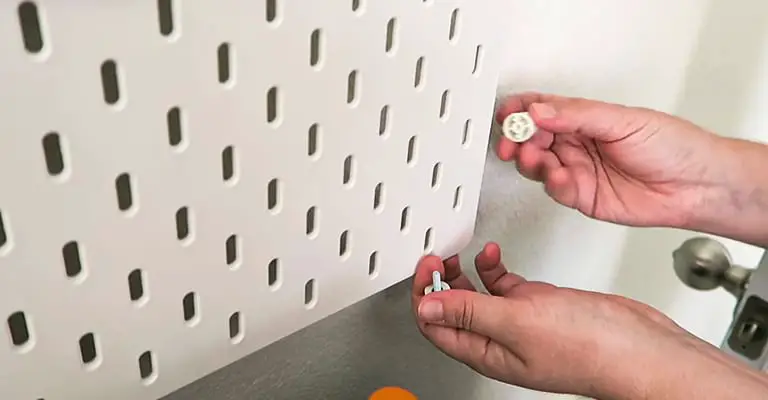
Unlike normal pegboards, the ones which don’t require any screws will have additional parts with them. For example, there is a plastic bar that goes at the back of the pegboard and it creates the gap between the board and the mounting wall. There are also two screws for attaching the bar with the pegboard. In addition to the bar, there are two spacers. The spacers are like circular, wide, and long plastic screws that also goes at the back of the pegboard and helps to maintain the gap at the bottom as well. Putting them at the bottom is the best because that way, the weight distribution is better.
Install the Bar
Near the top of the pegboard, attach the bar in such a way that there is some space between the main body of the bar and the pegboard. Run the two metals screws from the front side of the pegboard through the holes present at the two ends of the bar. The head of the screws should be made out of plastic so use your hand.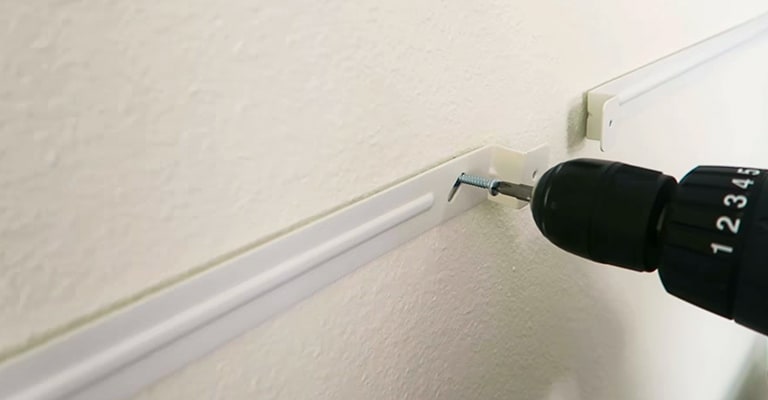
Install the Spacers
Take the two spacers and try to align them directly below the two ends of the bar. There’s nothing to screw this time because the spacers should be put from the back inside any hole on the pegboard, and it should click once it’s fixed with the pegboard. Wriggle them a little bit to check their firmness.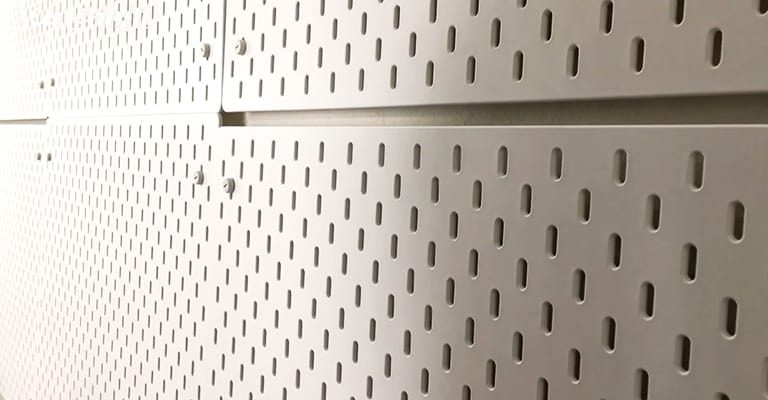
Preparing the Hanging Surface
Since you will be using adhesive materials on your wall, any kind of residue or dirt will decrease the effectiveness of the attachment. So, clean your wall, preferably with alcohol. Also, make sure that it is an even wall. Because otherwise, the pegboard won’t be attached firmly.
Set Up the Adhesive Strips
Adhesive strips come in pairs. Two of them are to velcroed with each other and the two remaining sides of the attached strip have the adhesive material waiting to be peeled off and used. Keep an adequate number of strips at your disposal before you start applying them. When you are making the pair, make sure the velcro is properly attached. This attachment will play a key role in holding the pegboard in its place on the wall so apply pressure for about 20seconds on each velcro.
Apply the Adhesive Velcro Strips
Lay the pegboard on its front giving you access to the bar and the spacers. Peel one of the adhesive sides and attach it to the bar. The other adhesive side of the strip should be intact. Use about 6 strips or more for as long as the whole bar gets covered. Cut a strip in half and use it on the two spacers too.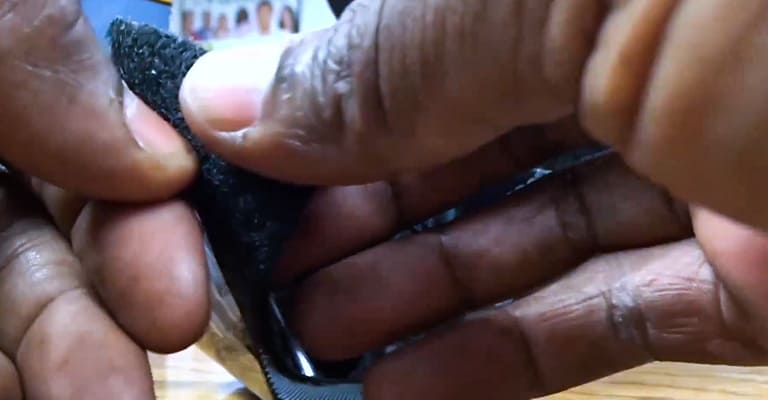
Hang the Pegboard
With all the adhesive velcro strips firmly attached to the bar and the spacers, remove the remaining coverings and without wasting any time, stick it on the wall. Apply pressure over the area which is directly above the bar and the spacers. Don’t push too hard near the middle or you might break the board.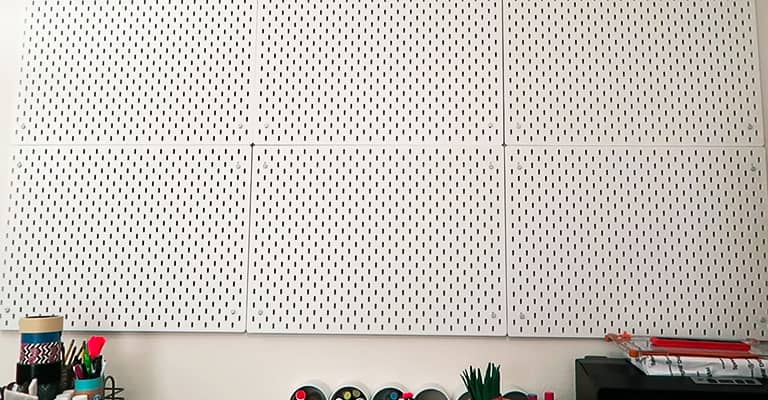
Finishing and Checking
After applying a sufficient amount of pressure, your hanging process should be complete. To check its firmness, try to wriggle the board with gentle pressure and see if it moves. You should be all done if the board doesn’t move. And thus, you’ve successfully installed a pegboard without any screws.Conclusion
Although you are free to try this method with a regular-sized garage or workshop pegboard, we recommend you to not try it. The reason behind it is that not all pegboards can be installed without screws. If you can’t drill holes and use screws, go for the ones that can be installed without screws. Also, make sure that you don’t shy out on applying pressure over the adhesive strips. People tend to make the mistake of applying gentle pressure on these things and end up with a dropped pegboard. Another thing to keep in mind is the weight capacity of your adhesive strips. We recommend not crossing that limit.
I'm Joost Nusselder, the founder of Tools Doctor, content marketer, and dad. I love trying out new equipment, and together with my team I've been creating in-depth blog articles since 2016 to help loyal readers with tools & crafting tips.