I love creating free content full of tips for my readers, you. I don't accept paid sponsorships, my opinion is my own, but if you find my recommendations helpful and you end up buying something you like through one of my links, I could earn a commission at no extra cost to you. Learn more
Soldering is pretty much a permanent fixture. But nevertheless, you can desolder i.e. remover solder using a desoldering pump and a soldering iron. But it gets tricky when you have neither of these and in need of an urgent desoldering.
In this post we'll cover:
Using a Flat Head Screwdriver
A screwdriver is the most common tool that can be found in almost any toolkit. Though they are made to join, we can use them for just the opposite purpose too. Ideally, a flat head screwdriver is a choice for its bigger head surface area. Anyways, these few steps have the potential to lead to a fine alternative.Step 1: Rub the Tip
Grab a flat head screwdriver and rub its head with a piece of clean and dry cloth. That’ll make sure that no oxide or rust remains on the head section. Here’s a tip! Choose the oldest screwdriver in your toolkit. As the screwdriver will be highly heated and later cooled down, it tends to be discolored.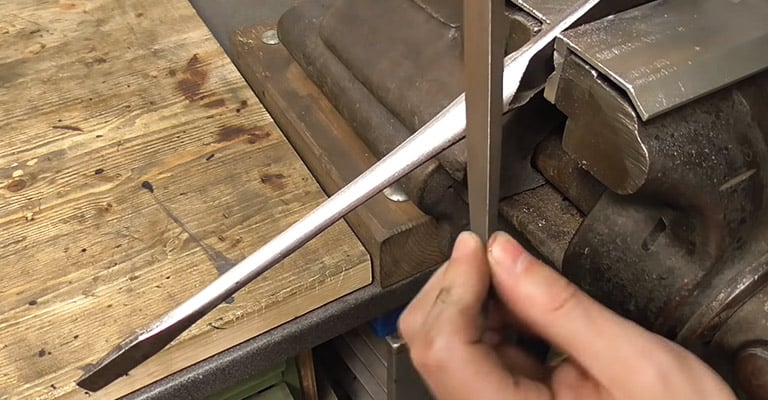
Step 2: Heat It
For heating the screwdriver, a propane torch is the best option. It can create flame up to 2000 to 2250 degrees Fahrenheit. Unlike a butane torch that’s used to solder copper pipes, the propane torch produces a more pointy flame. Directly hold the screwdriver into the flame of the soldering torch and wait until the steel turns almost red. Perform this action as close a period as possible to the soldering.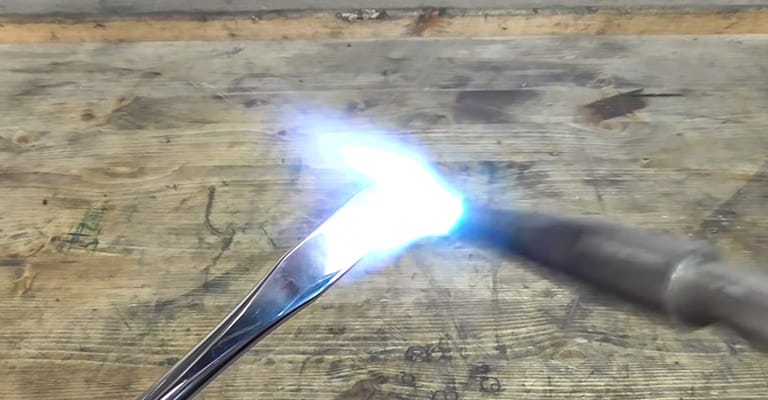
Step 3: Melt the Solder Down
Now the time has come to touch the solder with the tip of the hot screwdriver. But you need to be very cautious to apply the heat only on the desired solder joint, not other parts of the circuit. A fully flat surface is the best companion for this job. Make sure the PCB is positioned evenly on the surface. Then try to locate the peak of the solder or the bubble. A gentle touch is enough to create necessary contact between the tip of the screwdriver and the bubble. Later gently press downwards and the solid solder will begin to melt.
Step 4: Remove the Solder
Once you’ve successfully melted the solder, you need to properly remove them from the PCB. Again, the screwdriver is in rescue! Grab the screwdriver which should mostly turn cooled by now and touch it with the solder. Soon the solder will adhere to the screwdriver. You can use another screwdriver if the previous one can’t be enough cool.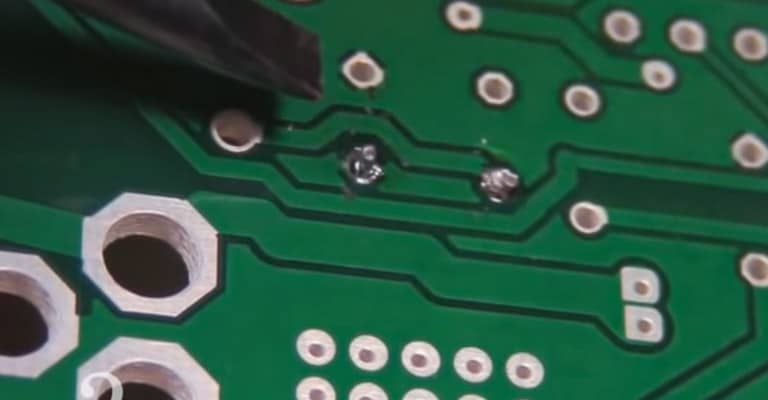
Step 5: Scrub the Tip
Again take the propane torch and fire it. Hold the screwdriver into the flame. Then scrub the surface with a cloth. Thus the remaining solder on the screwdriver surface can be cleaned the same way you clean soldering iron.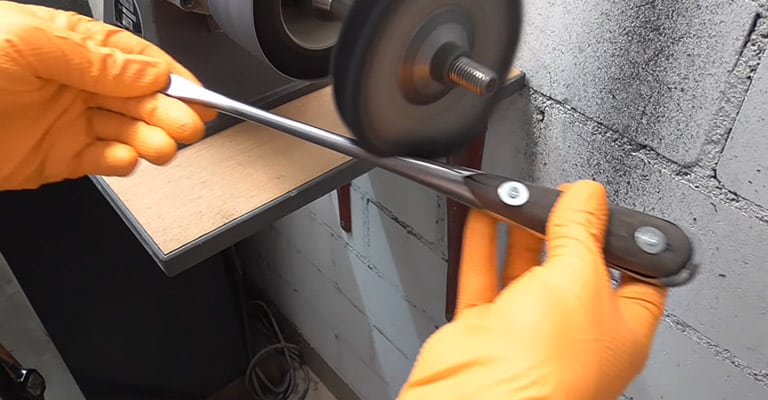
For Salvaging Delicate Components from Electronic Circuitry
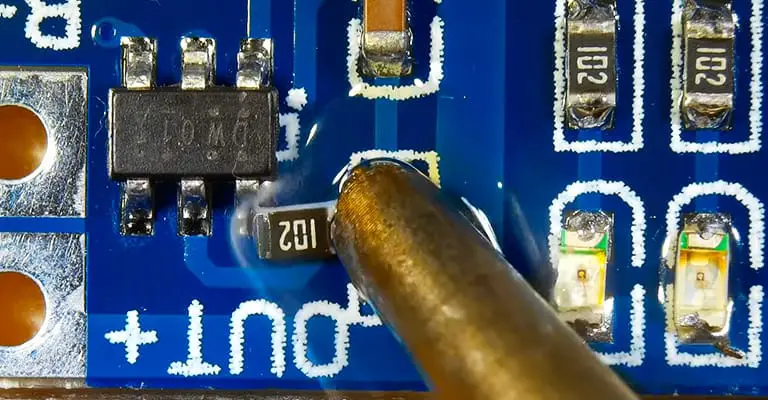
You can certainly remove the solder from any PCB by that previously mentioned method. But there are some loopholes. That heat you’re applying on the board can damage other sensitive components on that board. That’s why something is needed which can safely remove the components. Although in these processes, heat is necessary. But some techniques are applied to keep control over the heat and isolate the surroundings.
1. By Heating One Terminal
Not necessarily you heat all the terminals of a component at a time. You can apply heat one by one. This technique is much more effective when you have to deal with sophisticated components. Low wattage iron can be used to provide heat. Besides, installing a heat sink near the component can be highly effective to remove unwanted heat.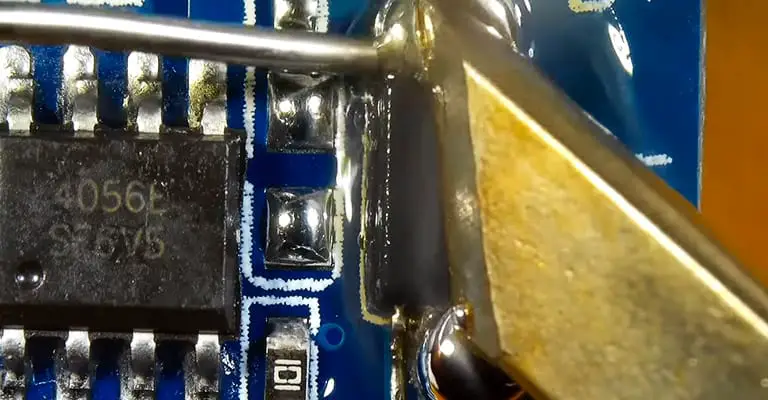
2. Using Hot Air Gun and Suction Pump
Hot air guns can blow heated air to the PCB and eventually can make the solder hot enough. Using a hot air gun is a more professional way to finish the job. But these guys tend to oxidize other metal components on the circuit. That’s why using nitrogen gas is safe. Although these tools can blow hot air to the joints but the solder that releases to the PCB needed to be removed. A specially designed suction pump or a solder sucker is needed to safely remove the solder. Using these tools will ensure that no other component is touched or no unwanted clogging of solder happens.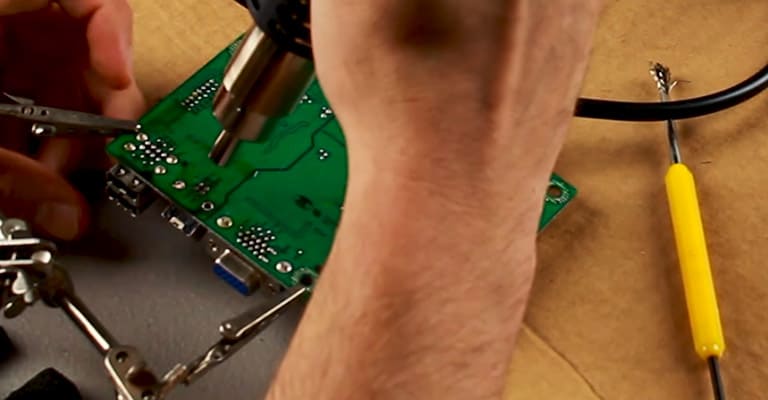
3. Using Quad Flat Packages to Remove More Delicate Parts
If you need to salvage an IC from a PCB, there’s no point in using a soldering iron directly. Of course, you can’t heat all of the terminals of that IC at once by a soldering iron. Even using a hot air gun arbitrarily can’t bring the desired result. In this scenario, you have to use a quad flat package. The basic construction of a QFP is simple. It has thin leads that are closely packed together and four thin walls that act as a heat insulator. It has a spring system that holds the IC upwards as soon as the solder reaches a liquid state. After properly setting up the QFP, you need to blow hot air from a hot air gun. As the heat traps into the desired location for the thin walls, the solder in that area quickly receives heat. Soon you are free to pull up the IC using the extractor mechanism. Some QFC has additional paddings that protect the other circuit components from being isolated.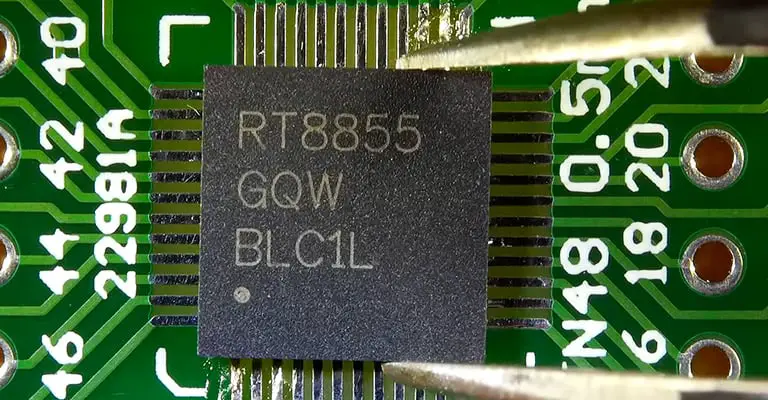
Brute Force Method
If you think the PCB is old enough and can’t use any more, you can apply some brute force technique that can help you to salvage the components. Check them out!1. Cut the Terminals
You can cut the terminals of the unwanted components and pull them out. Use a razor blade for this job. Besides, a vice-grip can help a lot to break the solder bond and pull out the component. But be careful of your hand while applying force. It’s better to wear gloves.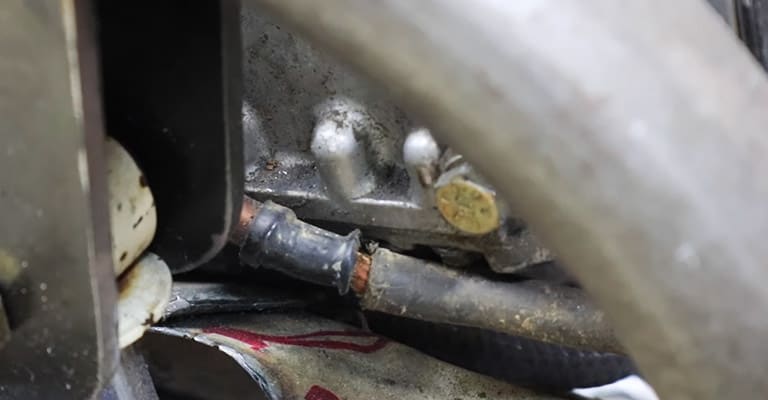
2. Hard Tap on Any Flat Surface
This may seem hilarious but tapping the board on to a hard surface is the last option to break the solder joint. If you don’t need the board but just the components, you can go for this technique. A strong shock wave of the impact can break the solder and cause the component to be free.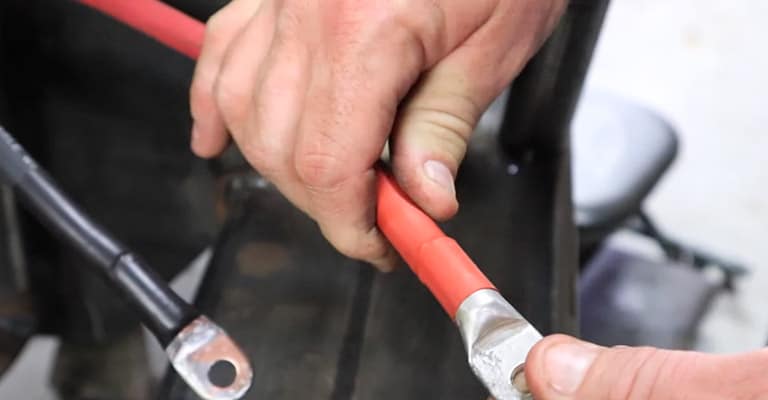
Bottom Line
By now you know how to remove solder without a soldering iron. It’s not a hard nut to crack. Even in some cases using a soldering iron is not safe. But do remember whatever approach you take, always ensure that you’re working on a flat surface and don’t touch the melting solder with a bare hand.
I'm Joost Nusselder, the founder of Tools Doctor, content marketer, and dad. I love trying out new equipment, and together with my team I've been creating in-depth blog articles since 2016 to help loyal readers with tools & crafting tips.