I love creating free content full of tips for my readers, you. I don't accept paid sponsorships, my opinion is my own, but if you find my recommendations helpful and you end up buying something you like through one of my links, I could earn a commission at no extra cost to you. Learn more
Tinning the tip, a minute’s worth of work, but can keep your soldering iron live and breathing for a couple of years more. Besides having a dirty tip will also contaminate whatever it is that you’re soldering. So, either way, it’s a better decision to do it even if you don’t care about the soldering iron.
You will indeed have a hard time soldering with a tip that’s not tinned properly. The wire will take a lot longer to melt and even so you can’t get good shape. The science behind it is that the tips can’t absorb sufficient amounts of heat to melt the soldering iron at ease.
In this post we'll cover:
A Step-by-Step Guide – How to Tin a Soldering Iron
Whether you have a new or old soldering iron, the un-tinned tip of your iron does not make good thermal conductivity. As a result, you will not achieve a high-quality soldering experience. Thus for your convenience, we put together a detailed step by step process of both tinning your new and re-tinning your old iron.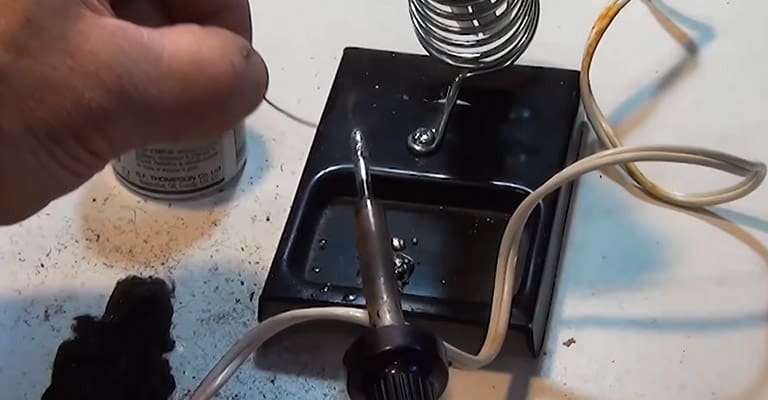
Tinning New Soldering Iron
Tinning of your new soldering iron will not only increase its life but also enhances the quality of soldering. This will cover the tip with a layer of solder which is highly effective against future oxidation and corrosion. Thus, before using it is ideal to tin the tips of your soldering iron.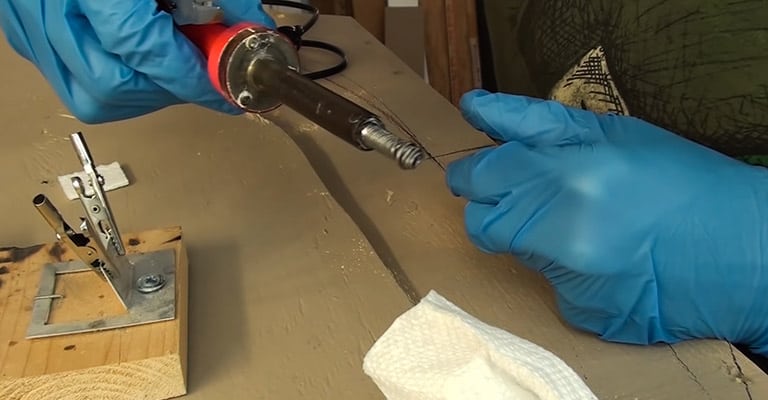
Step 1: Gather All Equipment
Take a high-quality soldering acid flux, tin-lead solder, damped sponge, steel wool, and lastly a soldering iron. If your soldering iron is old, check that the shape of the tip is worn-out or not. A fully worn-out tip should be thrown away.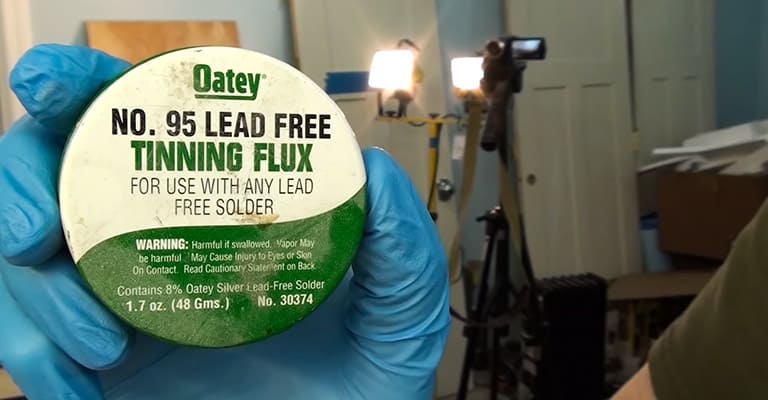
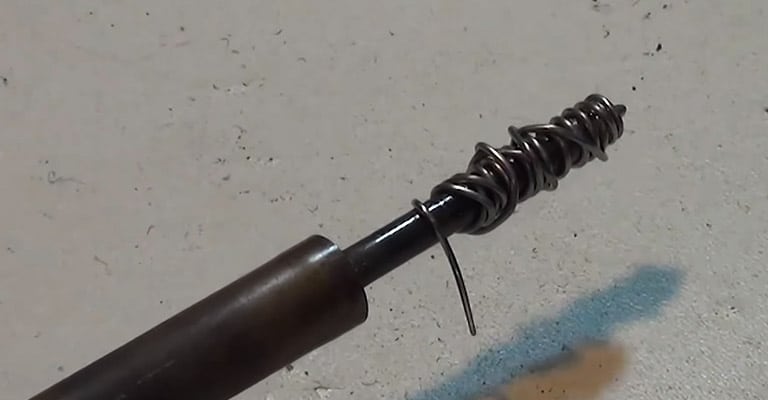
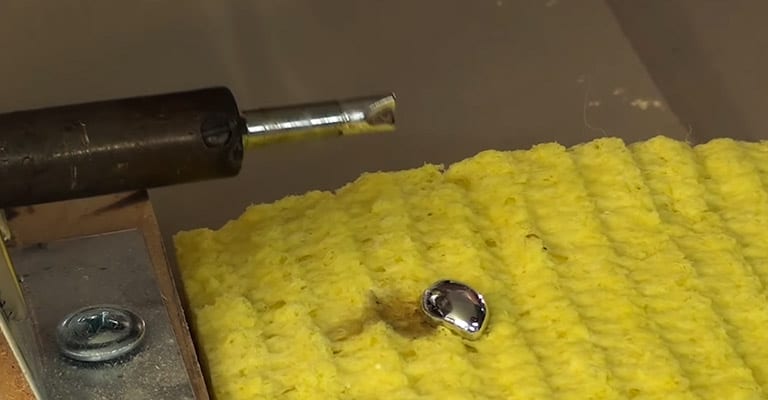
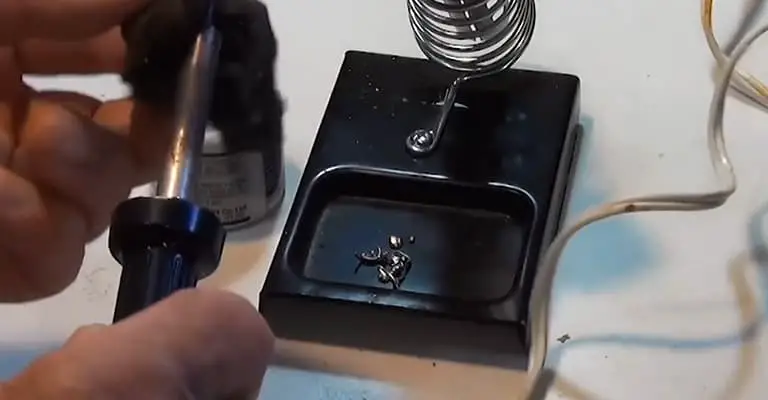
Step 2: Tin the Tip
Next, take the solder and wrap a light layer of that above the tip of soldering iron. This process is called tinning. Complete this process before turning on the iron. After a couple of minutes of plugging the iron, you can see the solder is slowly starting to melt. Keep the iron on until all the solder is fully liquefied.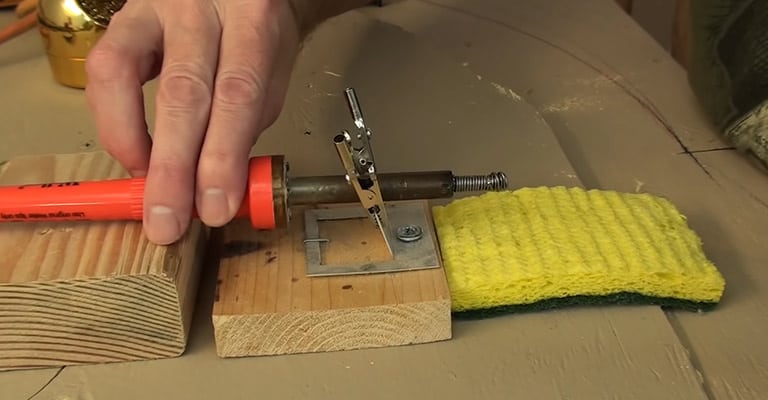
Step 3: Use Soldering Flux and Put More Solder
Re-Tin Old Soldering Iron
For every soldering work, the tip gets hot enough to oxidize quickly. If the iron sits in the soldering holder for some time, it becomes contaminated easily. This drastically reduces its ability to transfer heat and prevents solder from sticking and wetting the tip. You can avoid this problem simply by re-tinning the old iron.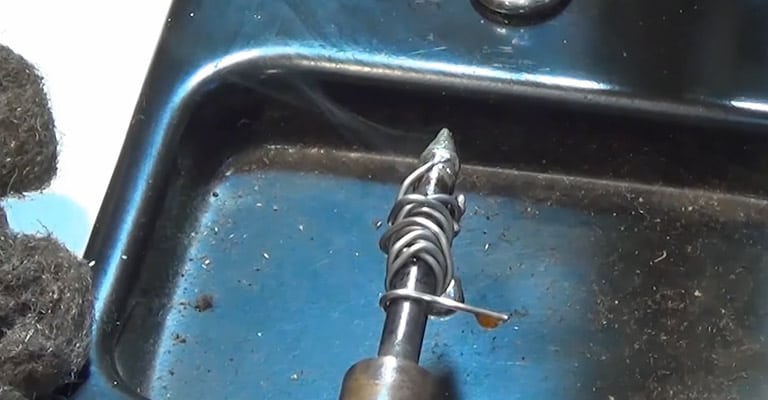
Step 1: Prepare the Iron and Gather All Equipment
Plug the iron in and turn it on. Meanwhile, grab all the items that are used for tinning new iron. After a minute or two, the iron should be hot enough to stream and melt the solder when touched to the soldering tip.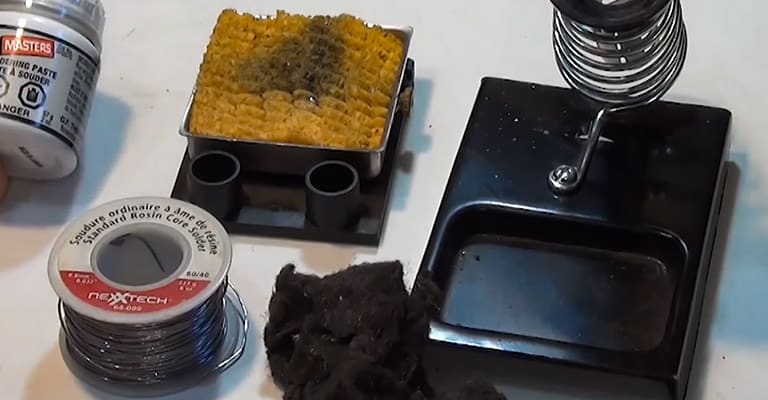
Step 2: Clean the Tip and Put Solder
Conclusion
Hopefully, our comprehensive step-by-step processes of the tinning soldering iron will be informative enough to follow and execute easily even for a beginner. It is necessary to tin the tip of your iron regularly, even when you are not soldering or at rest. While following these steps, be sure you are doing it with care. The sponge should be clean and damped with clean or distilled water. Never grind the tip with abrasive materials like sandpaper, dry sponge, emery cloth, etc. It will remove the thin coat around the metal core, making the tip useless for future use. Make sure you are doing all these steps in a well-ventilated area.
I'm Joost Nusselder, the founder of Tools Doctor, content marketer, and dad. I love trying out new equipment, and together with my team I've been creating in-depth blog articles since 2016 to help loyal readers with tools & crafting tips.